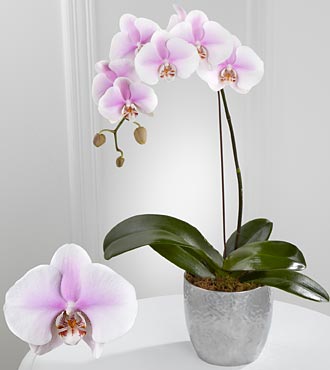
A phalaenopsis orchid is a beautiful addition to an indoor setting, and fairly easy to maintain as well. As they are ubiquitous at many retail groceries, home decor shops, and garden centers, it is easy to assume that occasional watering alone will keep the plant alive and blooming. However, as epiphytes (plants which grow naturally on other plants), they require slightly different care than a more traditional soil-potted plant. When purchasing a phalaenopsis orchid from a retail setting, repotting is typically needed to prepare the plant for a long life with repeated spike and bloom growth year after year.
Growth Medium
Many phalaenopsis plants are shipped in tightly packed sphagnum moss; this makes transport easy and protects the plants roots in the short term, but is not good for the plant long term. Sphagnum moss retains high quantities of water, which is not ideal for the roots of orchids – this will quickly lead to root decay and plant death. Orchids are used to living with many of their roots surrounded by air, so packing them in with damp soil does not mimic their natural environment.
It is easy to prepare a phalaenopsis for indoor enjoyment: ideally, you’ll need some medium grade wood chips / bark, sphagnum moss, and pearlite (if you have some), a (preferably) plastic pot with plenty of water drainage holes, and a sterilized razor / shears / scissors.
Repotting
I’ll show some example pictures from a poorly potted and maintained orchid.
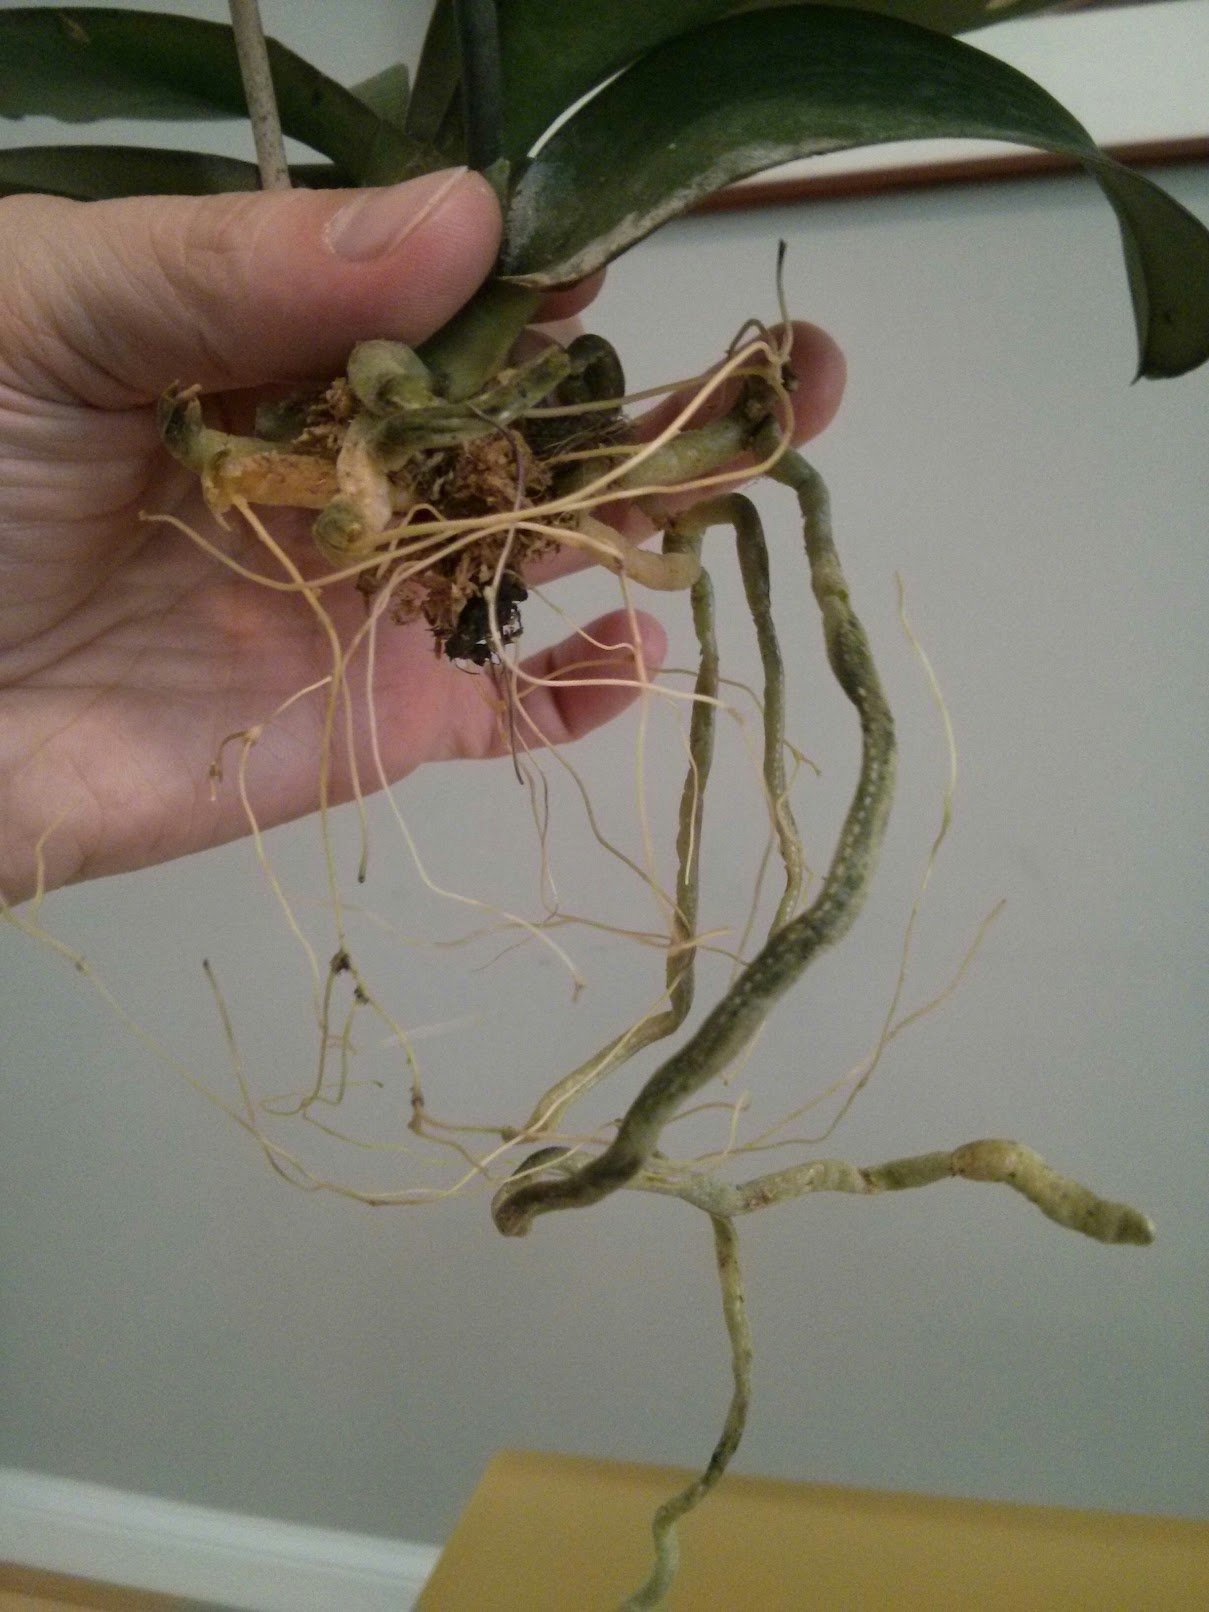
First, remove the plant from it’s pot. Note the pack of spagnum moss around the plant.
Carefully pull the moss away from the roots to expose them.
Roots
Phalaenopsis orchid roots have a sheath covering them, called velamen. This sometimes tough, sometimes spongy material absorbs water but does not try out and holds water for the roots inside to absorb. Note that the root is the small, wiry strand at the core of the velamen.
Next, identify any roots which need maintenance. Note some of these root velamen are yellowing, brown, or even black – these should be pulled or trimmed away. This plant is in need of a bit of maintenance:

By pulling away the unhealthy velamen and leaving the root exposed, the plant will have extra support when potted, so these roots can remain as long as they are not brown or black.
A trimmed root system of this specimen:
The plant can be replaced in an appropriately sized pot (perhaps the one from which it came) and a wood chip / sphagnum / perlite mix packed loosely around the roots. Be careful to not break the roots, but ensure that the plant is secure in the potting medium.
Spikes
Phalaenopsis orchids will bloom for up to three months, then their flowers will drop and the spikes on which the flowers grew should be cut back. Upon receipt of a new orchid, the spikes may have recently dropped blooms or may be browning; in this case, the spikes should be cut back severely using a sterilized cutting tool (with rubbing alcohol or flame), as low as possible above a node. Once cut, use rubbing alcohol on the exposed cut to kill any bacteria / viruses transmitted from the spike surface to the spike core during the cut.
After cutting (note that the roots and leaves are a bit silvery in this picture, but in real life they are quite a bit more green):

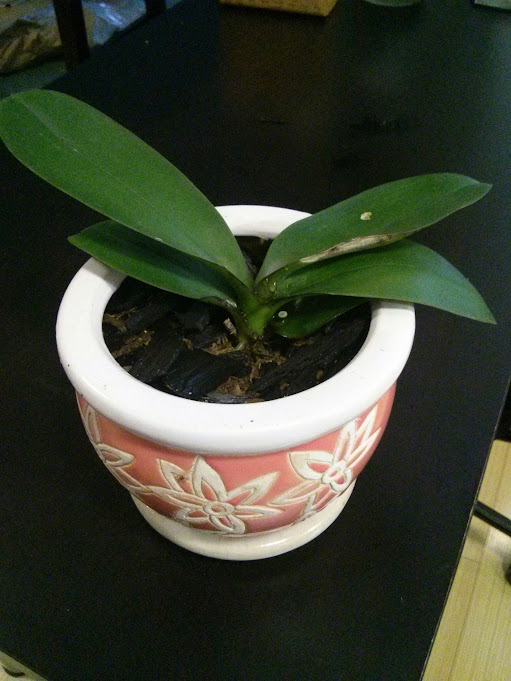
And finally, the fully replanted product (there are some blemishes on the leaves from prior hazards):
General Maintenance
Phalaenopsis survives well with bright indirect light. Temperature should be between 75-85 F during the day, and 60-65 F at night. Humidity should be around 50-75%. High nitrogen fertilizer (15-5-5 or similar) prior to blooming is ideal; change to 5-15-10 or similar after flower buds appear (mixed at 1 teaspoon per gallon, adjust the water concentration if fertilizer balance is different). Fertilizer should be applied once per month.
Watering
Phalaenopsis have no water storage organs, so the roots must be kept damp, but not soggy, at all times. When using the bark / sphagnum suggestion in the repotting suggestion above, watering will likely need to happen weekly. Make sure to test for dampness in the bark below the surface, as the top bark may be dry while bottom bark may be damp enough.
When watering, provide a large amount of water – but don’t worry, excess water will drain from the bottom of the pot. I suggest that this happen outside or over a sink! If water doesn’t immediately drain from the bottom of the pot when watering, then the potting mixture is too dense – there is likely too much moss.
Read More